In Part One, I created the virtual switches to create a lab network that looks kind of like this:

One of the virtual switches is an “External” switch, which means it connects to the actual home network. The other is a “Private” switch, which means it has no connectivity outside of itself, including the host computer.
Connecting the Virtual Machines
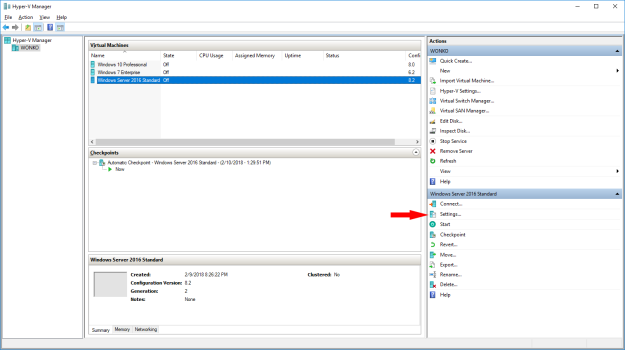
I have three virtual machines I want to use in my lab. One is running Windows Server 2016 Standard, one is running Windows 7 Enterprise and the other is running Windows 10 Professional.
Each of these should be connected to the “Private” virtual switch.
I’ll need two virtual switches: One for the lab environment network and one that connects to the home network. For access to the home network, I’ll need to create a virtual switch and connect it to an “external” network.
Select one of the virtual machines and then click on “Settings” under the virtual machine’s section of the “Actions” pane. It’s the bottom half of that pane:
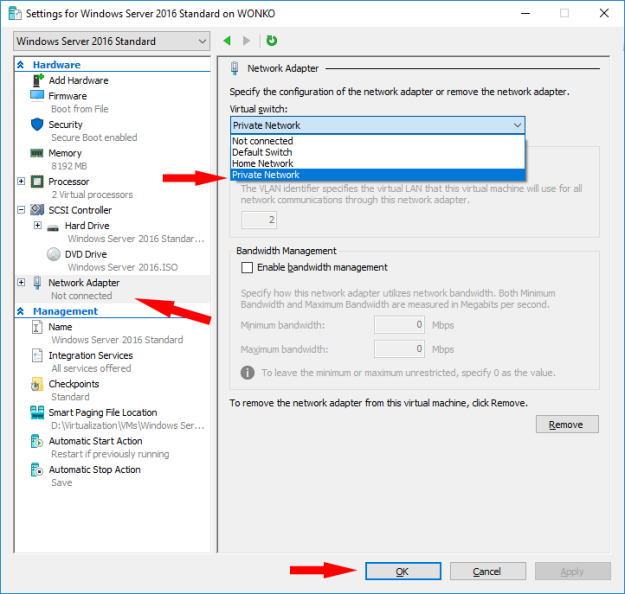
In the left pane, under “Hardware”, select “Network Adapter”. In the right pane, select the Private virtual switch created previously and then click “OK”:
I did this for all of the virtual machines in the lab environment. Next, I created the router.
Creating the Router Virtual Machine
I created a very basic virtual machine using the following settings:
- 2GB RAM, using Dynamic Memory
- Connection to the Private virtual switch
- 80GB HDD
I’ve documented the VM creation in a different post.
Installing Ubuntu Linux
First step here is to get the latest distro. Generally speaking, I tend to go with the most stable release rather than the latest and greatest. I downloaded the LTS version and at the time of this posting, the version was 16.04.3.
I’ll give you a screen-by-screen walkthrough of the installation, but it’s pretty simple.
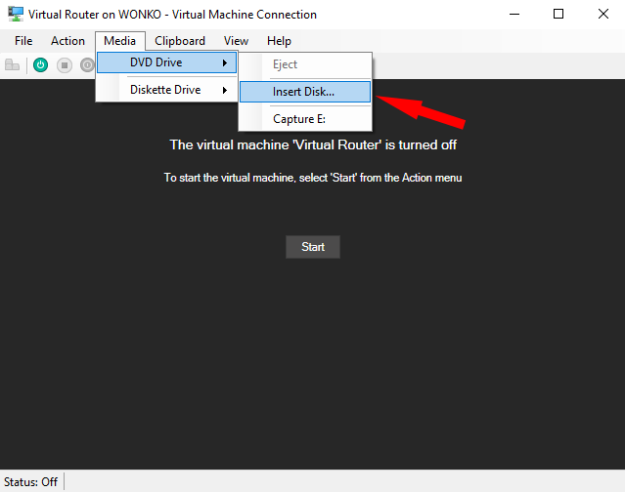
Connect to your VM and mount the installation media as a DVD drive:
Start the VM and the installation should automagically start:
You won’t have mouse support here, so just use arrow keys to navigate and then hit the <ENTER> key to select an option.
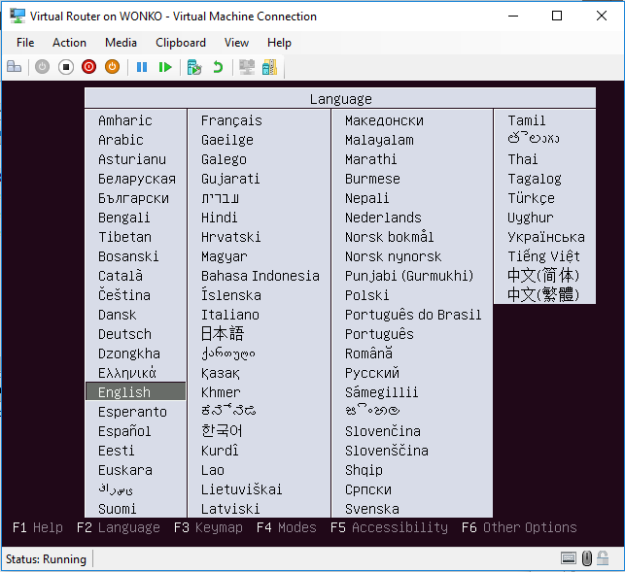
Assuming you want to use “English”, accept the default and just hit <ENTER>. You’ll end up at the installation menu:
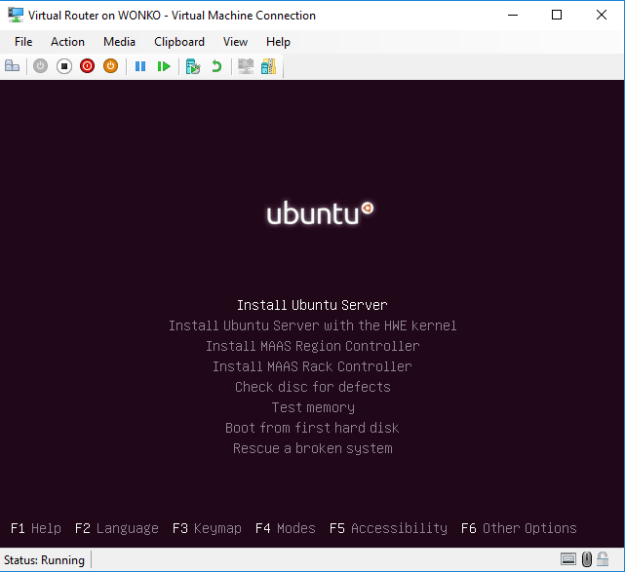
Leave the selection at “Install Ubuntu Server”, hit <ENTER> and you’ll end up at the language selection screen for the OS installation:
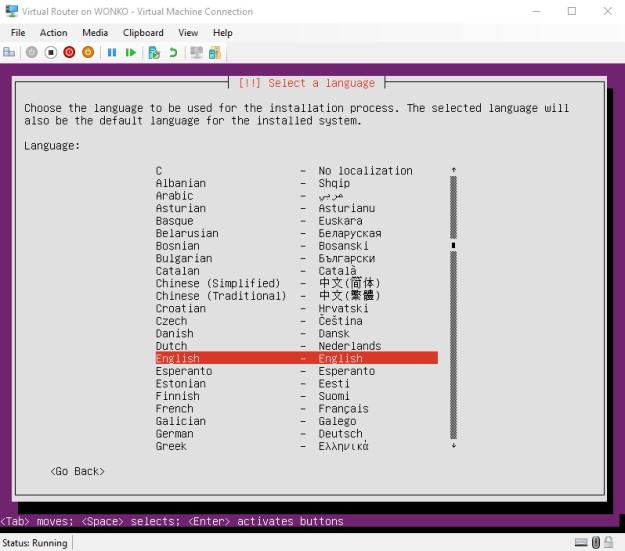
Select your language, or keep it at “English” and hit <ENTER>. Next, you select your location:

Select your location, or keep it at “United States” and hit <ENTER>.
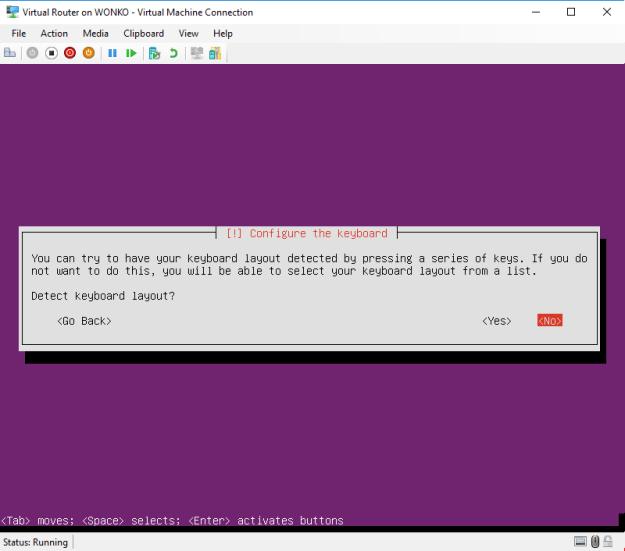
The next screen is pretty cool. The Ubuntu install will attempt to detect your keyboard layout.
Unless you want to change the keyboard layout, just accept the default and hit <ENTER>:
The next two screens allow you to manually select the keyboard layout. The first screen selects the language/nationality. The second allows you to configure different layouts for the keyboard language. Pretty cool stuff:
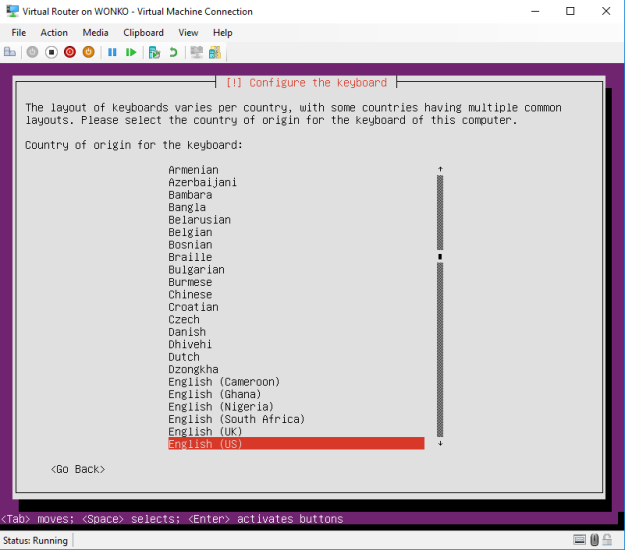
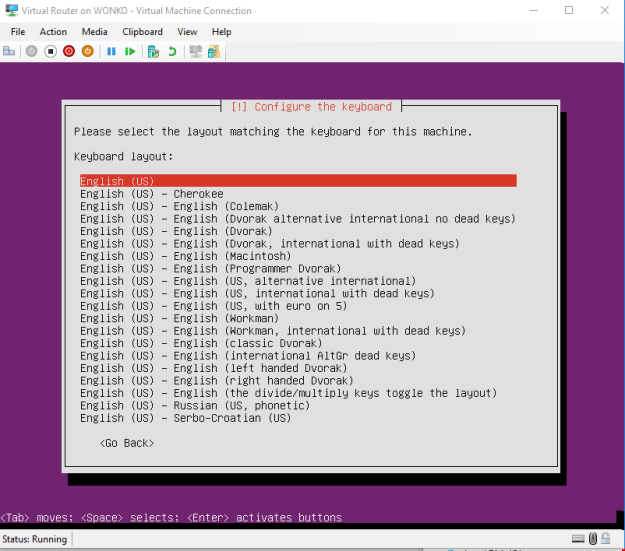
Again, change it if you need to; otherwise, accept the default values of “English (US)” and hit <ENTER> on both screens.
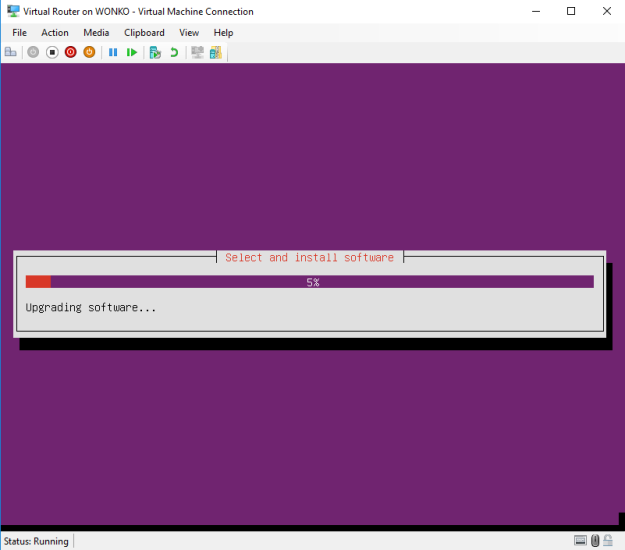
Next come some progress bars:
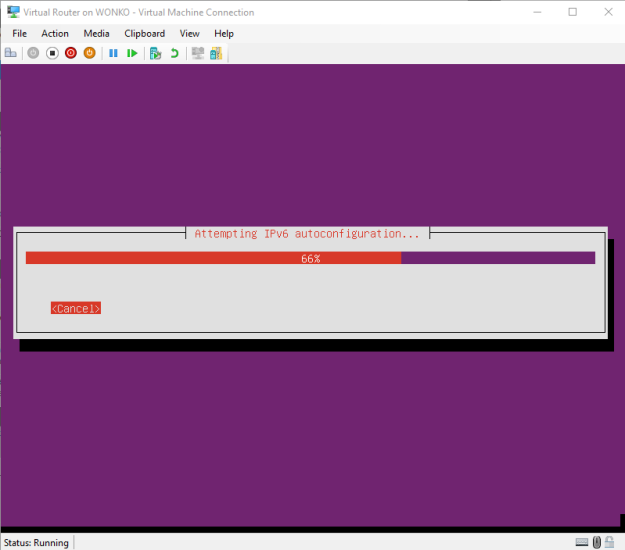
It’s time to configure the network. Since I’ve got this VM on an isolated private virtual switch, there are no DHCP servers available to hand out IP addresses. Because of that, I get the following error:
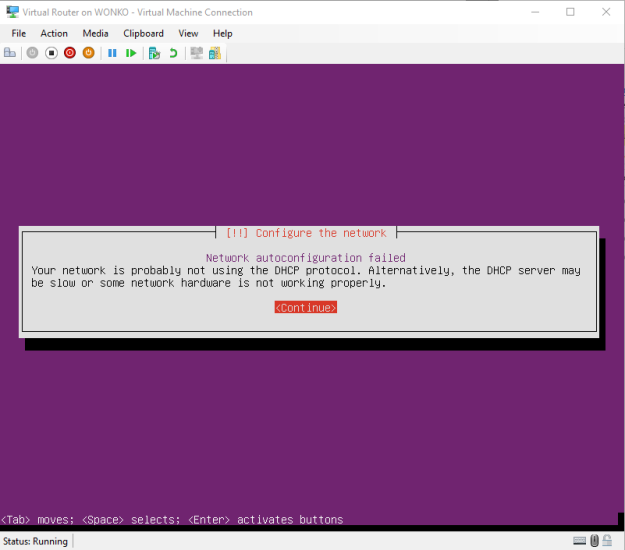
No big deal, we want a static IP address anyway.
Hit <ENTER> to get to a menu with some new options:
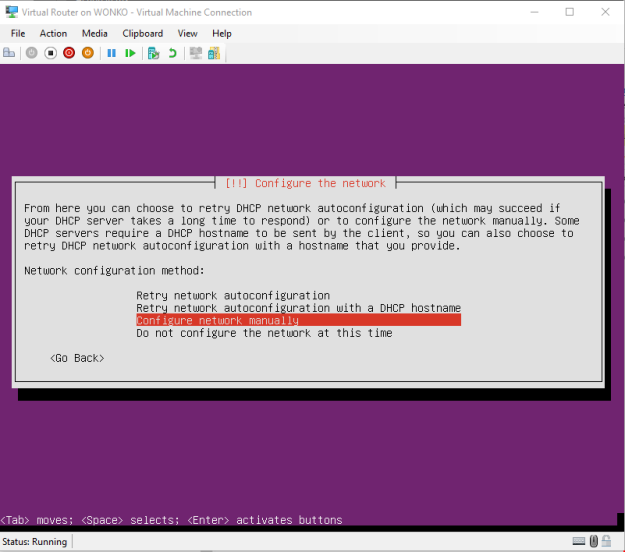
“Configure network manually” should be highlighted, so just hit <ENTER>. Configure the IP settings in the next few windows:

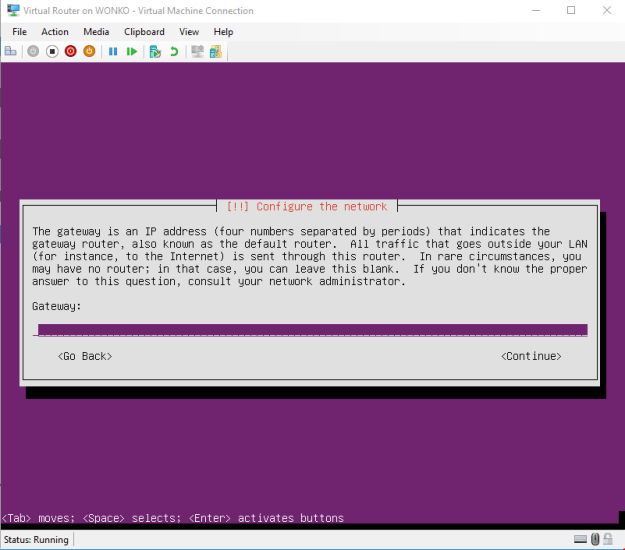
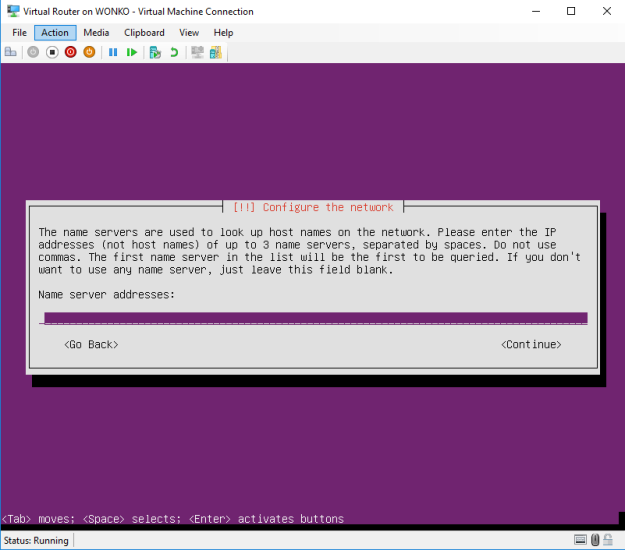
I don’t need a router address on this network, so I left the Gateway field blank. Ditto with the DNS settings… I won’t need to worry about DNS resolution on this VM. The next screen is for the hostname, which I will use:
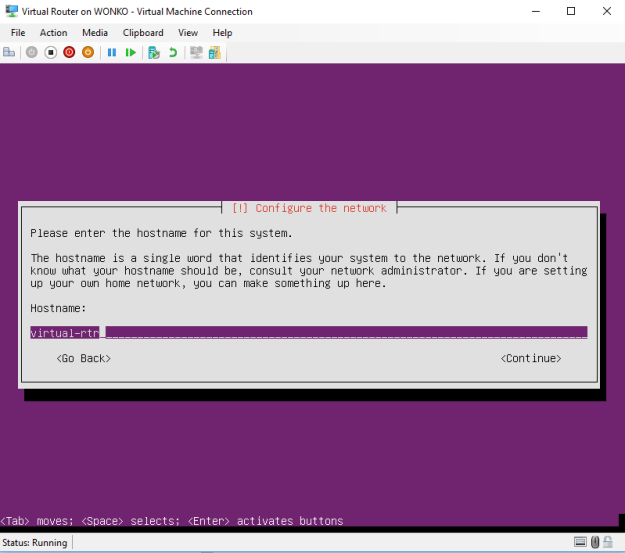
Put in whatever hostname you want, and this press <ENTER>:
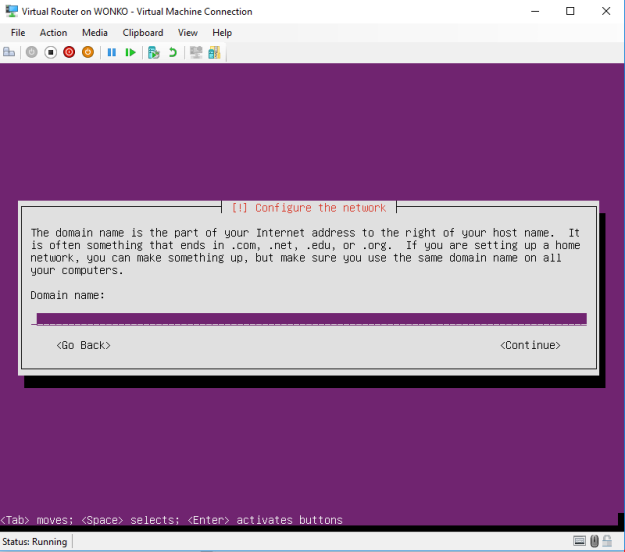
Again, I’m not worried about DNS, so I’m not going to worry about a domain name, which is why I left it blank.
Enter whatever domain name you wish, then hit <ENTER>.
The next few screens are used for assigning a full name, a username and a password for logging into the router OS:
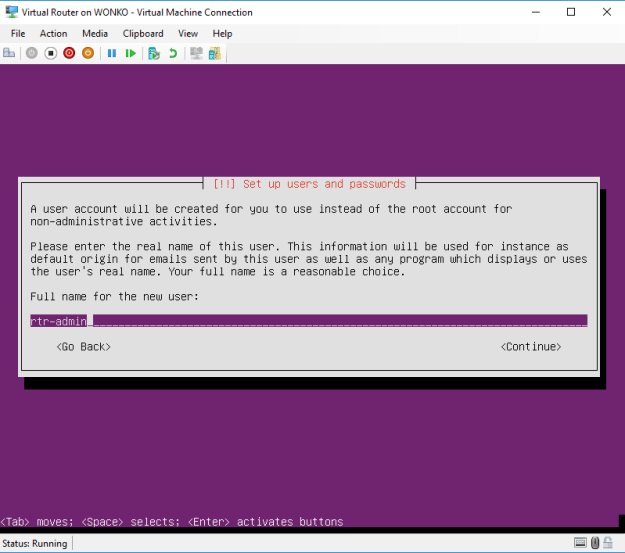
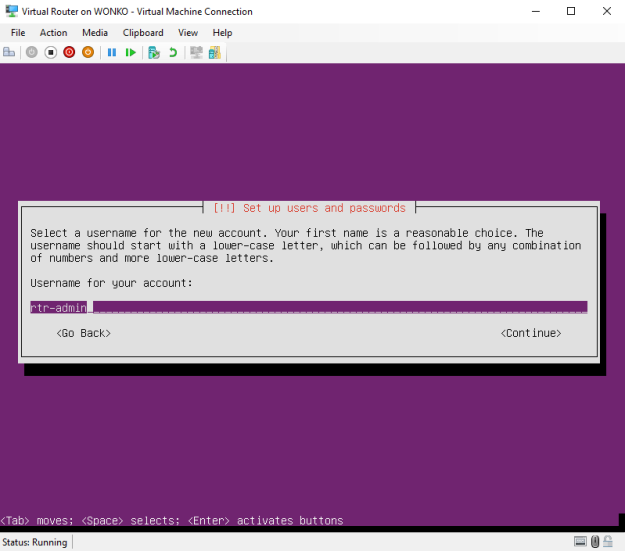

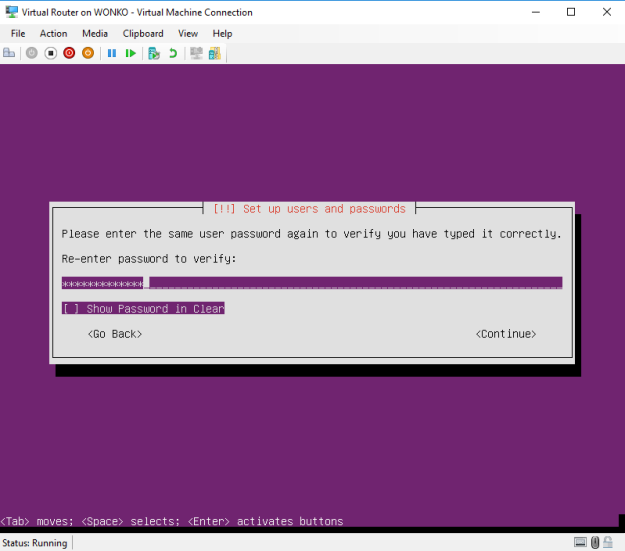
Enter the full name, the username and the password you’ll use to logon to the router OS and hit <ENTER>:
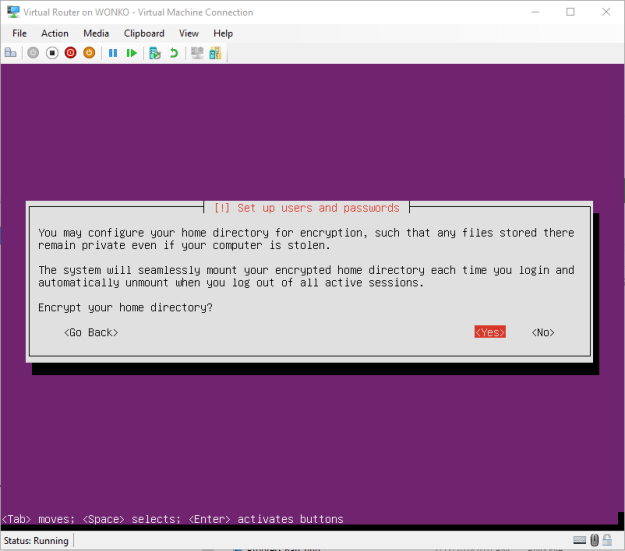
If you want to encrypt your home folder (I don’t think it really matters for what I’m doing, but better safe than sorry, yes?), highlight “Yes” and hit <ENTER>:
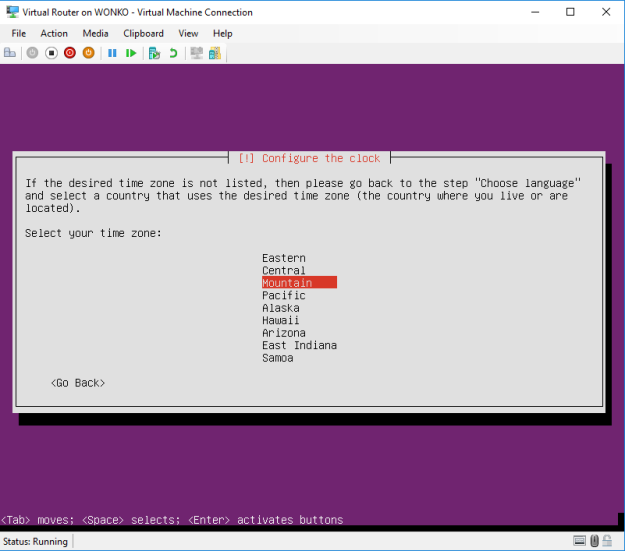
Select your time zone and hit <ENTER>.
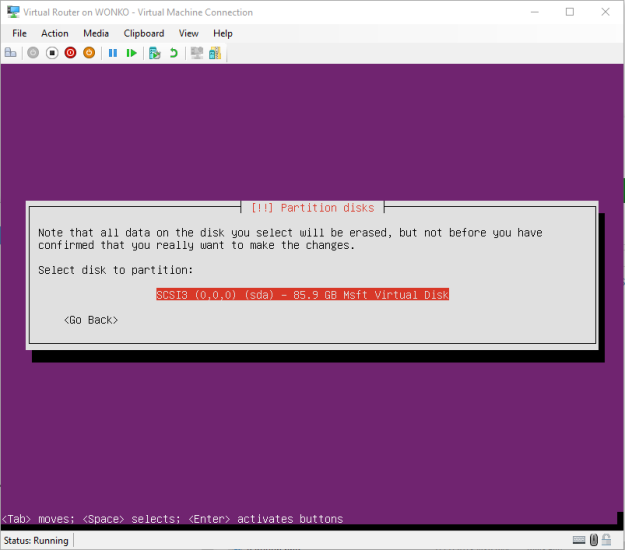
The next step is the disk setup. You have a lot of options for partitioning the disks. For what I’m doing, I don’t need anything fancy. So, I’ll just go with the easiest options:

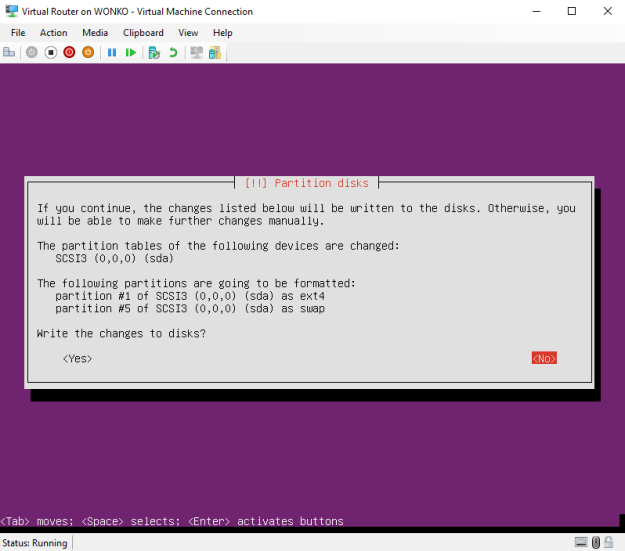
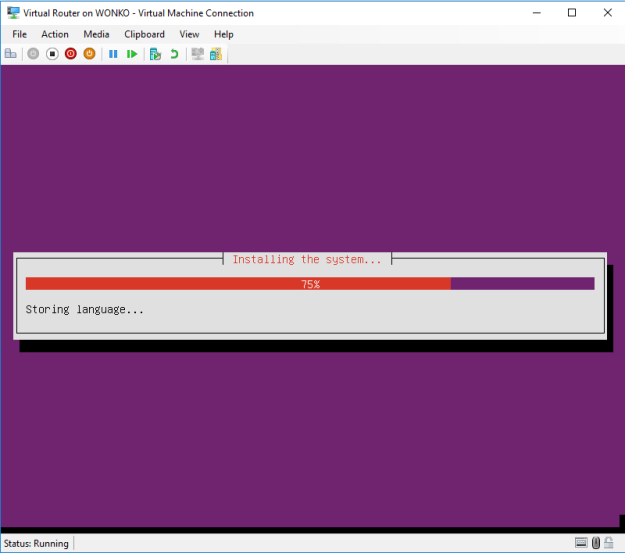
On the confirmation page, change your selection to “Yes” and hit <ENTER>. More progress bars:

Unless you need one, which is highly unlikely, just leave the HTTP proxy field blank and hit <ENTER> so you can watch some more progress bars:
The next option gives the option of managing updates. I recommend installing security updates automatically. The other updates can always be downloaded manually:

Highlight “Install security updates automatically” and hit <ENTER>:
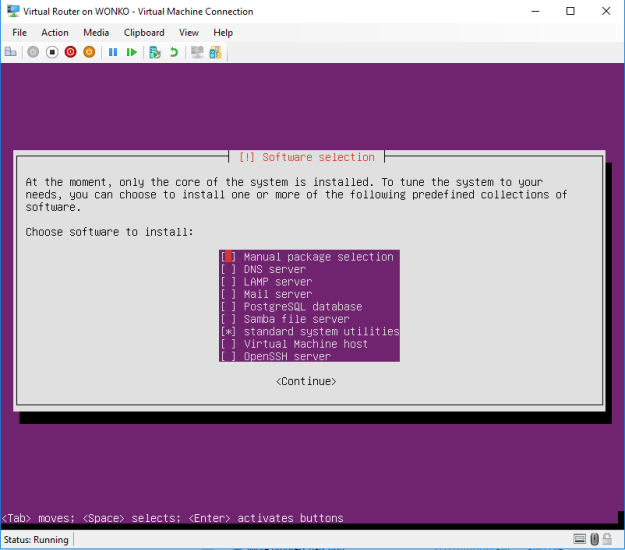
For my purposes, I need nothing but the very basics.
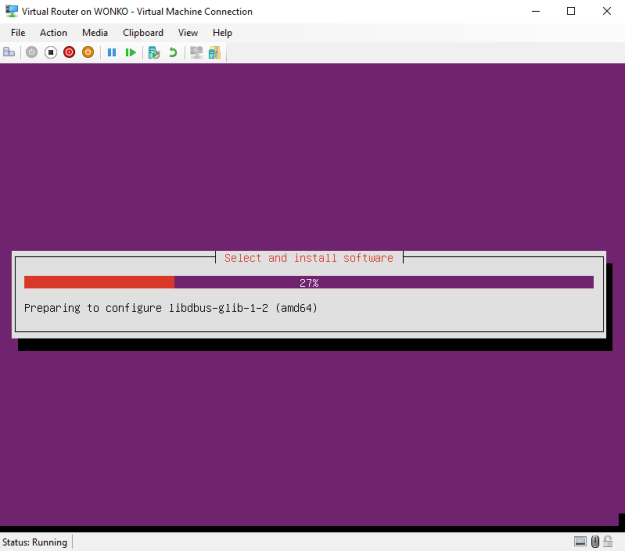
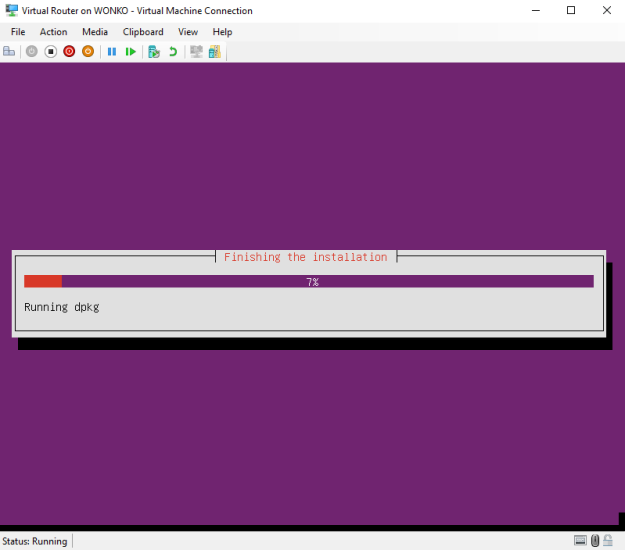
Leave this at the default settings (“standard system utilities”) and hit <ENTER> for another round of progress bars. After that, got GRUB?:
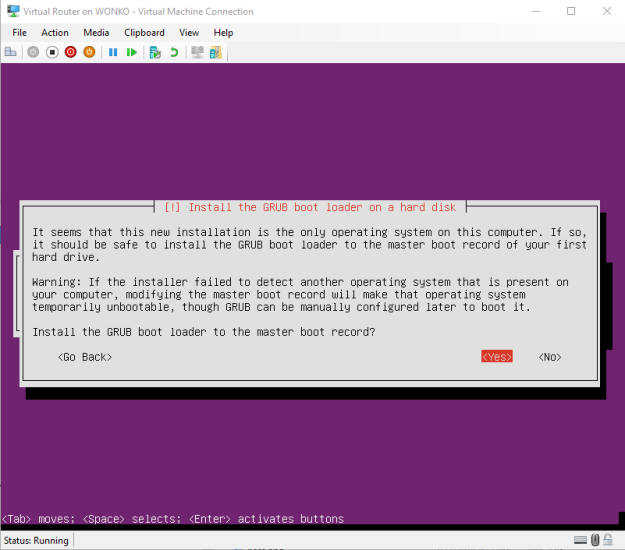
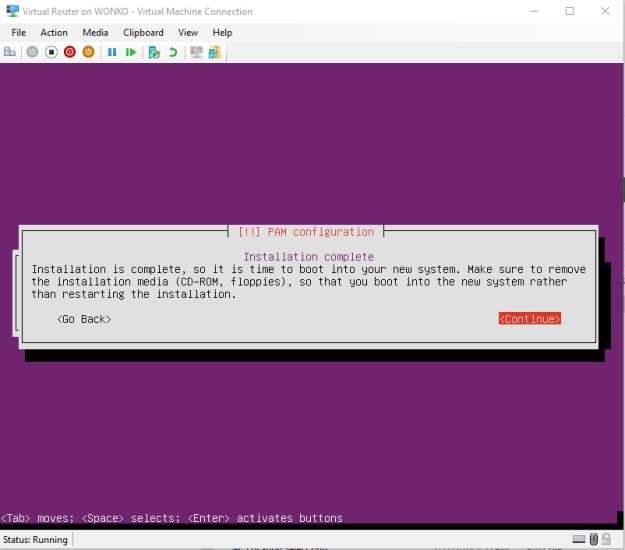
GRUB is fine. Accept the default value of “Yes” and hit <ENTER> for more progress bars and a friendly reminder to remove your installation media for the reboot:
This wraps up the installation. Next is the configuration.
